
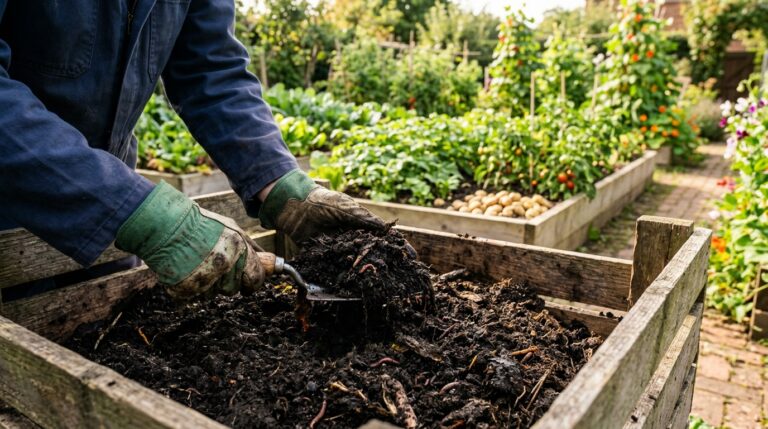
Why Every Garden Needs a Compost Heap
Making your own compost is one of the most rewarding things you can do as a home gardener. It costs almost nothing, it reduces household waste, and it produces a dark, crumbly material that genuinely transforms the health of your soil. Whether you have a sprawling back garden or a modest plot, composting is well within reach — and once you get into the habit, you will wonder how you ever managed without it.
Compost improves drainage in heavy clay soils, helps sandy soils retain moisture, feeds soil organisms, and releases nutrients slowly as plants need them. Bought-in compost bags are useful, but homemade compost is fresher, richer, and far better value. If you are looking to improve your garden from the ground up, starting a compost heap is one of the best first steps you can take.
Choosing the Right Composting Method
There is no single correct way to compost. The method you choose will depend on how much space you have, how much waste you generate, and how quickly you want results.
Open Compost Heap
A simple pile in a corner of the garden is the most low-effort option. It works slowly but requires no investment. Ideal if you have plenty of space and are patient.
Compost Bin
A contained plastic or wooden bin is the most popular choice for British home gardeners. It keeps things tidy, retains heat and moisture, and deters pests. Many local councils sell subsidised compost bins, so it is worth checking before buying one at full price.
Tumbler Composter
A rotating drum mounted on a frame allows you to turn the contents easily, speeding up decomposition. These are more expensive but produce finished compost in as little as four to six weeks during warmer months. A good option if you want faster results or have a smaller garden where a traditional heap is not practical.
Worm Bin (Vermicomposting)
Worm bins use special composting worms to break down kitchen scraps quickly. They are compact, can be kept outdoors or even in a shed, and produce a highly concentrated liquid feed as well as rich worm castings. Excellent for gardeners with limited outdoor space.
What to Add to Your Compost
The key to successful composting is balance. You need a mix of two types of material, often called greens and browns.
Greens (Nitrogen-Rich Materials)
- Fruit and vegetable peelings
- Tea bags and coffee grounds
- Grass clippings
- Fresh plant trimmings and weeds (that have not set seed)
- Eggshells (add calcium and help with aeration)
Browns (Carbon-Rich Materials)
- Cardboard and paper (torn into small pieces)
- Dry autumn leaves
- Straw or hay
- Woody prunings (shredded or chipped)
- Paper bags and egg boxes
As a rough guide, aim for roughly equal volumes of greens and browns. If your heap smells unpleasant or becomes slimy, it has too many greens — add more browns and turn the pile. If it is very dry and not breaking down, it needs more greens and possibly a splash of water.
What Not to Add
- Cooked food or meat (attracts rats and other pests)
- Dairy products
- Dog or cat waste
- Diseased plant material
- Perennial weeds with roots intact (such as bindweed or couch grass)
- Glossy magazines or heavily printed card
How to Build and Manage Your Compost Heap
Getting a heap started is straightforward, but a few good habits will make the difference between compost that is ready in six months and one that sits there doing very little for years.
Step 1: Choose a Good Spot
Place your bin or heap on bare soil rather than paving. This allows worms and beneficial insects to move in from below. A partly shaded spot is ideal — too much direct sun can dry the heap out, and deep shade tends to keep it too cold in winter.
Step 2: Start with a Base Layer
Add a layer of coarse, woody material at the bottom — twigs, cardboard, or straw work well. This improves airflow from beneath, which helps the composting process along.
Step 3: Build in Layers
Add your greens and browns in alternating layers roughly 10–15 cm thick. There is no need to be overly precise about this; just try to avoid adding large quantities of one material all at once.
Step 4: Keep It Moist
Your compost heap should feel roughly as damp as a wrung-out sponge. In dry summers, give it a light watering. If it becomes waterlogged during wet weather, cover it with a piece of old carpet or a fitted lid.
Step 5: Turn Regularly
Turning the heap every four to six weeks introduces oxygen, which feeds the microorganisms doing the hard work of decomposition. Use a garden fork to mix the material, moving the outer edges towards the centre. This one simple habit can halve the time it takes to produce finished compost.
How to Tell When Your Compost Is Ready
Finished compost looks dark brown, smells earthy rather than sour, and has a crumbly texture. You should not be able to identify individual ingredients any more (though the odd eggshell or twig might remain). It typically takes between three months and a year, depending on the season, the mix of materials, and how often you turn the heap.
If some material at the top or edges is not yet fully broken down, simply set it aside and return it to the heap for another cycle.
How to Use Homemade Compost in Your Garden
Once your compost is ready, there are several excellent ways to put it to work:
- Soil improver: Dig it into vegetable beds or borders in autumn or spring at a rate of roughly one bucketful per square metre.
- Mulch: Spread a 5–7 cm layer around established plants to suppress weeds, retain moisture, and slowly feed the soil.
- Potting mix: Mix with sharp sand and a little topsoil to create a general-purpose compost for containers and raised beds.
- Lawn top dressing: Sieve finely and apply to the lawn surface after scarifying to improve soil structure and encourage strong grass growth.
A Few Extra Tips for Better Results
Chop or shred materials before adding them — smaller pieces break down far faster than whole stalks or thick cardboard. Nettles and comfrey leaves are brilliant compost activators and will speed up the process considerably if you have access to them. You can also buy proprietary compost activator powders, though they are rarely necessary if your heap is well balanced.
For more practical advice on soil health, seasonal gardening tasks, and making the most of your outdoor space, explore the wealth of guides available at Forest Ferns gardening — there is always something useful for every time of year.
Getting Started Today
Composting is not complicated, and it does not demand much of your time. A couple of minutes adding material here, a turn of the fork there — and within a few months you will have free, high-quality compost that your plants will love. It is one of those satisfying gardening habits that pays dividends for years to come.